Setting Up Phaser
Phew - we’ve gone through a lot already but it’s finally time to get our game project up and running with Phaser.
In programming, a library is typically a big collection of code that is intended to be included and used by another application - but a library typically does nothing at all on it’s own. Phaser is a JavaScript library that is intended to be used a basis for other JavaScript applications that are either games or multi-media apps.
You should already have phaser downloaded as a zip file from the Phaser website. If you do not, please visit the Required Software page and download the relevant file.
Adding Phaser to your Project
Phaser comes packaged as a single JavaScript file that contains all of the code that makes up the library. This makes Phaser incredibly easy to include and use in a bigger application, as you just need to package one file with your project.
We’ll go through the following steps to add Phaser to our HTML page.
1. Copy phaser.min.js into your libs/ folder.
phaser.min.js contains all of the source code required to run Phaser all packed into a single JavaScript file. If you open it and try to read it however, you will notice it looks like a mess. That’s because it’s been minified. This means the JavaScript source code has been run through a program to remove all spaces and comments to make it as small as possible.
It’s typical to put the files for libraries made by other people into a ‘libs’ folder inside of your project so that you know where to look for what external requirements your software is built on. At this point, you should copy the Phaser libray into your project. Anywhere is fine, but I would recommend;
libs/phaser.min.js
2. Load phaser.min.js from a <script> tag.
Next up we need to load the JavaScript file containing Phaser in our HTML page. In the <head> section of your HTML document you should add the following code;
<script src="libs/phaser.min.js"></script>We should now be loading the Phaser library from our code - we now just need to add some code of our own to load it.
3. Check you have a <div> for phaser to add the game too
In the next step we will call a function which tells Phaser to create all of the required game ojects somewhere on our page. Your div tag should have an extra parameter id=”gameContainer” which you will use to tell Phaser which div tag you’d like to use for the game.
Ensure the following code exists somewhere in your HTML body.
<div id="gameContainer"></div>4. Initialize Phaser
Now everything should be in place and ready, we just need to call a single line of code to tell Phaser to boot up and get ready to host a game. The following Phaser function is used to create a game on a webpage;
var game = new Phaser.Game(width, height, graphicsMode, divId);
When calling this function you pass a width and a height parameter to determine how large the game area should be. Graphics Mode tells phaser how it should draw the game. There are a number of different technologies available, but we will just use ‘Phaser.AUTO’ to allow Phaser to pick what it thinks is best for the browser. The last parameter is ‘divId’, which should match the id of the div tag we made in step 3.
The following example should suffice for the ‘standard case’ for our game!
var game = new Phaser.Game(400, 600, Phaser.AUTO, 'gameContainer');Check it Works!
By the end of this section you should have a black box appearing in the middle of your webpage. It might not look impressive, but you’ve now got a whole new canvas waiting for you to fill with game elements, artwork and fun!
However, if you launch the Chrome Developer console you should see the following in the log;
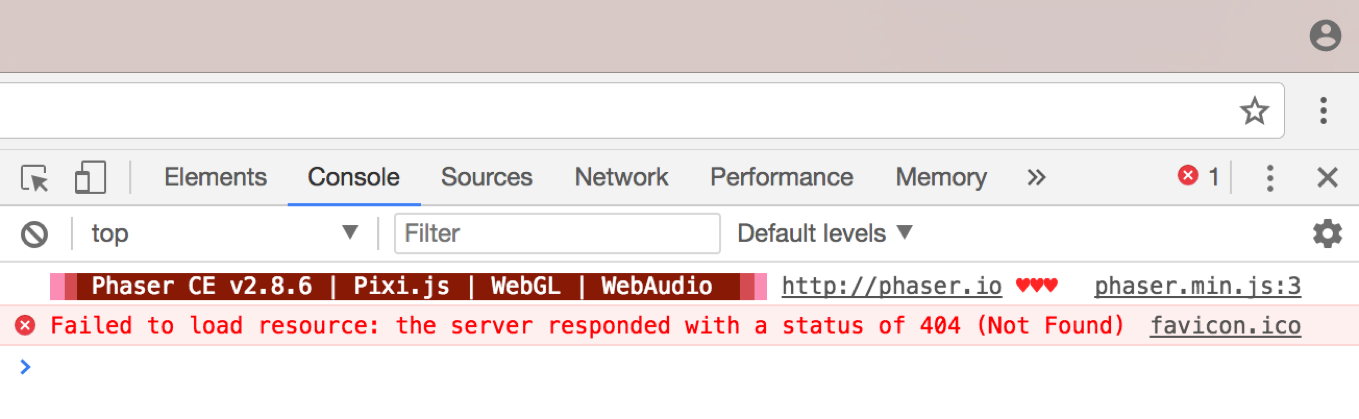
That means all is good! Phaser is creating a game and just waiting for you to fill it space ships, asteroids and bullets!